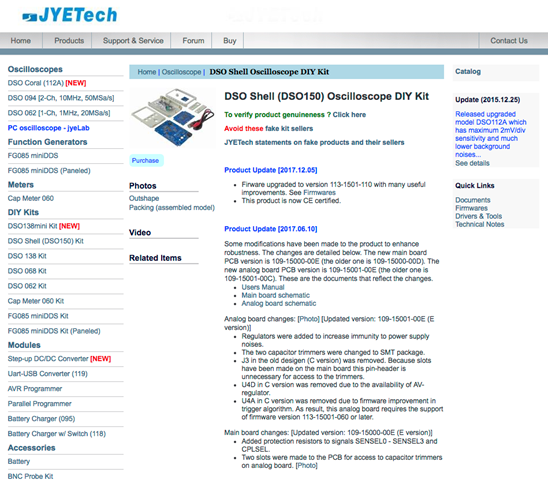
ケース付きのオシロスコープDS0150 15001K っていうのが組み立て済みで約2500円だったので、キットと迷ってとりあえず組み立て済みのものをゲットしました。
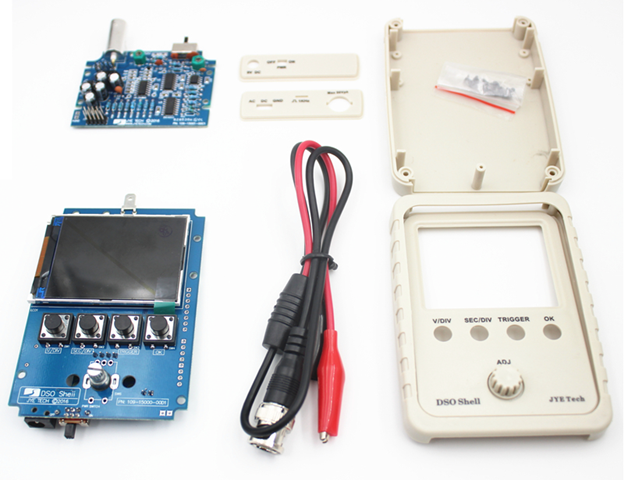
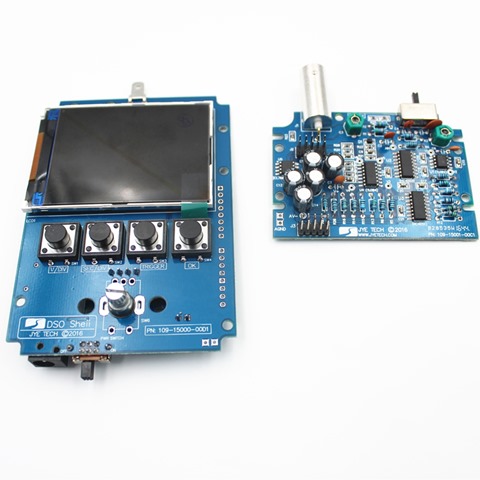
大きさはこの程度。
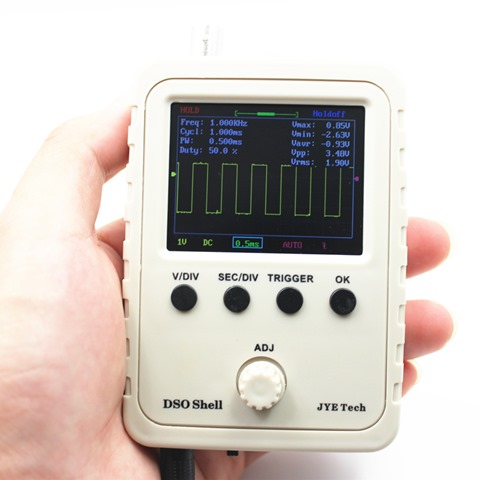
スペックは以下です。簡単に特徴を列挙すると、チャンネル数は1チャンネルでアナログ帯域が0~200kHzの解像度は12bitで、1024サンプルとなります。モニターは2.4インチのTFTカラー。320×240で、電源は9Vのようです。ケースはぷら製で3Dプリンターの印刷物ではなさそうです。ケース付きっていうのがいいですよね。今後、もう少し性能がいいのが欲しくなれば、PCに接続するタイプのものを考えています。まずはこれで遊んでみることに。
Features:
Adopt ARM Cortex-M3 processor (STM32F103C8), and include a 2.4-inch color TFT display screen.
Used for secondary development on the basis of this kit, for example, it can be changed to Millivoltmeter, data loggers.
Come with instructions, easy to install and operate.
With Auto/Normal/Single trigger modes, easy to capture the moment waveform.
Available rising or falling edge trigger.
Observable previous waveform before trigger(negative delay).
Can freeze waveform display at any time(HOLD function).
With waveform parameter digital display, including frequency, period, pulse width, duty ratio, MAX./MIN./AVG./Peak-Peak/virtual values.
Waveform storage function: will not lose the waveform after power off.
Short-circuit and open-circuit detection: can help the user find out the soldering error.
TFT controller recognition function.
The SMD has been soldered, more suitable for electronic beginner.
Specifications:
Maximum Real-time Sampling Rate: 1MSa/s
Analog Bandwidth: 0-200KHz
Sensitivity Range: 5mV/div-20mV/idv
Maximum Input Voltage: 50Vpk (1X probe)
Input Impedance: 1M ohms/20pF
Accuracy: 12 Bits
Record Length: 1024 points
Coupling Modes: DC / AC / GND
Time Base Range: 500s/Div – 10us / Div
Trigger Modes: Auto, Normal, and Single
Trigger Position: Center of Buffer
Supply Voltage: DC 9V(8-10V)
Current Consumption:~120mA @ 9V
Main Board Size: 94 * 65mm / 3.7 * 2.56in
Analog Board Size: 65 * 47mm / 2.56 * 1.85in
Screen Size: 52 * 40mm / 2 * 1.57in
Package Size: 14.5 * 10 * 3.7cm / 5.7 * 3.94 * 1.45in
Package Weight: 179g / 6.33oz
製造元のWEBは、以下です。
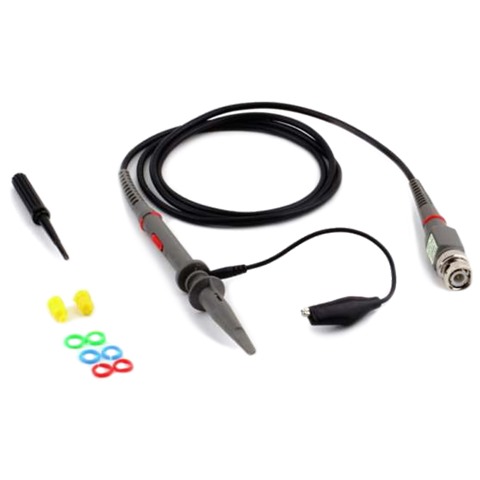
気分を盛り上げるため、プローブもゲットしておきました。ちゃんと1つは付いていますがね。
半組み立て済みなので、半田付けはありません。気分的にちまちま、半田付けする気にならなかったのでキットです。組み立てるのは好きなんですけどね。
もうひとつ欲しくなったら、そのときは組み立てキットにしてみようと思います。とりあえずのグレードアップするポイントは、リチウム電池を内臓して充電式にして持ち運べるようにします。電源は9V なので以前購入した、1セルの充電放電管理、TP4056 Lithium Cell Charger Moduleに付けて、昇圧は以下のモジュールを使うことにします。とりあえず1つゲットしておきました。最近は、まとめかいせず、作るものだけを買うようにしています。リチウム電池はケース内に入る適当なものを使います。
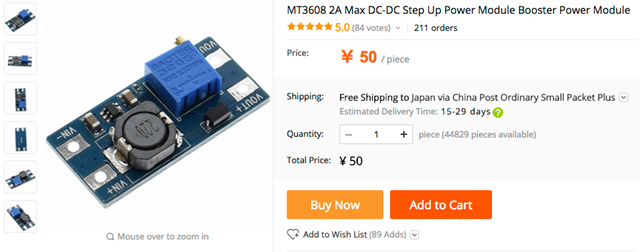
スイッチング電源なのでノイズが混入するかもです。
